A few pictures I had fun with the other day taking & editing.
Friday, February 25, 2011
Hand Colored Look
Keep reading..
1) Open Photoshop Elements 9.
2) Open the photo you would like to work on & duplicate your photo by pressing:
Ctrl (Windows users) or command+J (mac users)
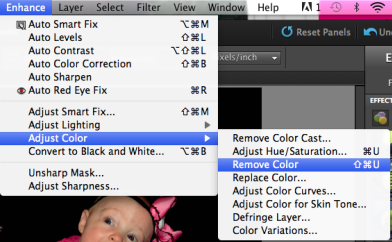
3) Select "enhance", "adjust color" then "remove color."
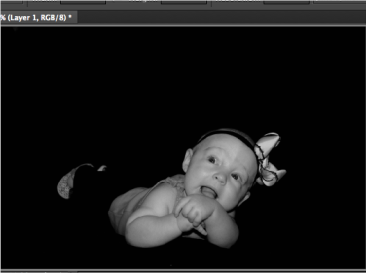
Your photo should look like this:
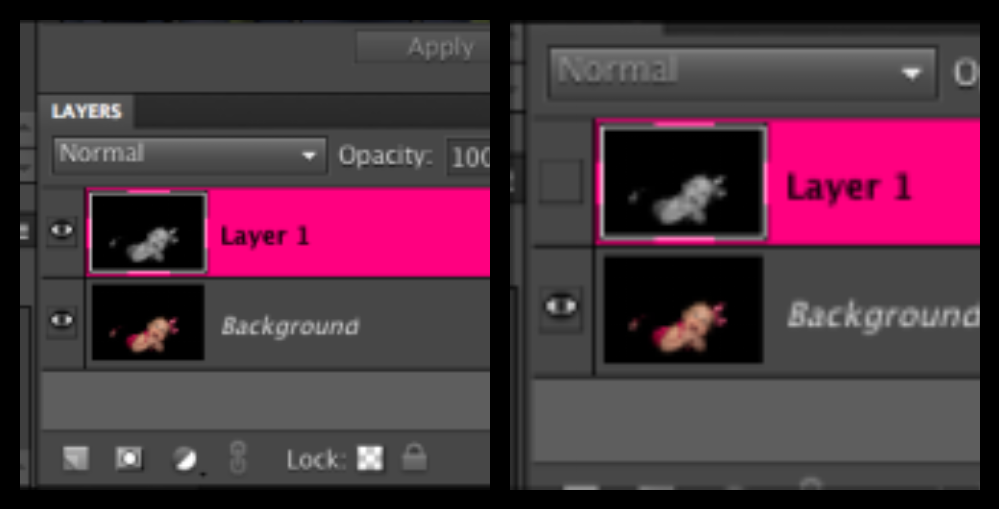
4) Click "new layer" icon to add a blank layer.
5) Name that layer based on the color you're using.
6) Click the eye icon for the black & white layer to turn it off.
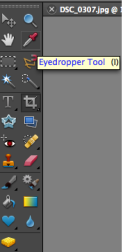
7) Click the eyedropper in the toolbox.
8) Click a color in the picture that you want to use.
I chose to use the pink color in my picture so that pink should show up as the foreground color in your toolbox as shown above. Whatever color you chose should be there.
9) Click the eye icon for the black & white layer to turn it back on.
10) Click the layer that you named in step#4.
11) Click the paintbrush in the toolbox & pick a good size brush & size.
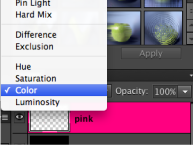
12) Select "color" for the layer blending mode.
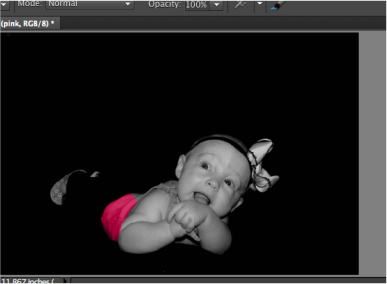
13) Now paint over the photo where you want this color to appear- should start to look like this:
Once you're done coloring over the area you want- your finished product should look like this:
And...you're done!
Wednesday, February 23, 2011
Cloning out problems
Want to go from this
To this?
Follow along!
1) Open up Photoshop Elements 9.
2) Select the picture you need to clone out problems.
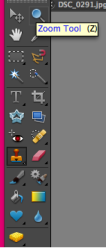
3) Click the zoom tool, or the magnifier, at the top of the toolbox.
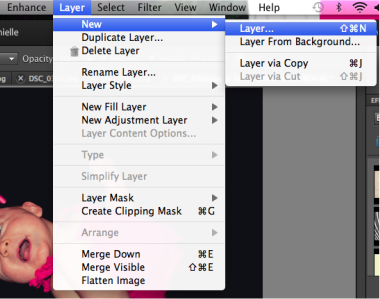
4) Click "Layer", then "New Layer".
5)Name the layer "Clone Layer" or whatever else suits you.
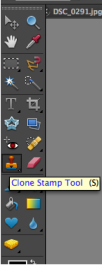
5) Click the "Clone Stamp" tool in the toolbox.
6) Right click the photo to open the brush menu and select a good brush size.
7) Leave the mode at Normal & Opacity 100% and aligned selected.
8) Select Sample all layers (should be checked.)
9) Press alt/option as you click a problem free area near your problem.
10) Now go back to the problem area and click on it.
TA-DA Your problem disappeared!
Drool Be Gone!
Monday, February 21, 2011
Importing new brushes/watermarks
Want to learn how to "copyright" your photos so no one can claim them as their own?
Keep reading..
1) Go here or any other site you find brushes on and download the brush you want.
HOW TO INSTALL CUSTOM BRUSHES
Windows: Place the *.abr files into:
Program Files\Adobe\Photoshop Elements X\Presets\Brushes where X is the version number for your version of Photoshop Elements.
Mac: Place the *.abr files into:
Applications/Adobe Photoshop Elements 6/Presets/Brushes
You will need to restart photoshop after you're done with this step.
2) Open your image in photoshop.
3) Select the "brush" tool.
4) Select the brush you want to use.
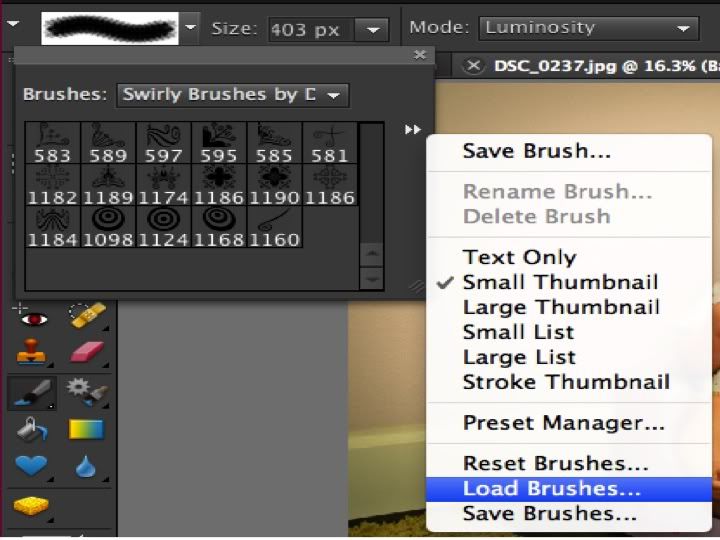
How to load a brush:
1) Click on the brush
2) Click on the forward arrows
3) Click on "load brushes"
4)Find where you saved your brushes (step #1)
TA-DA You now have your new brush!
5) Change the size of your brush as you please.
6) Move the brush to where you want on the picture. (Note: you CANNOT move the brush once you've placed it on the picture without undoing and redoing all over again.)
7) Now add any text around the image as you want!
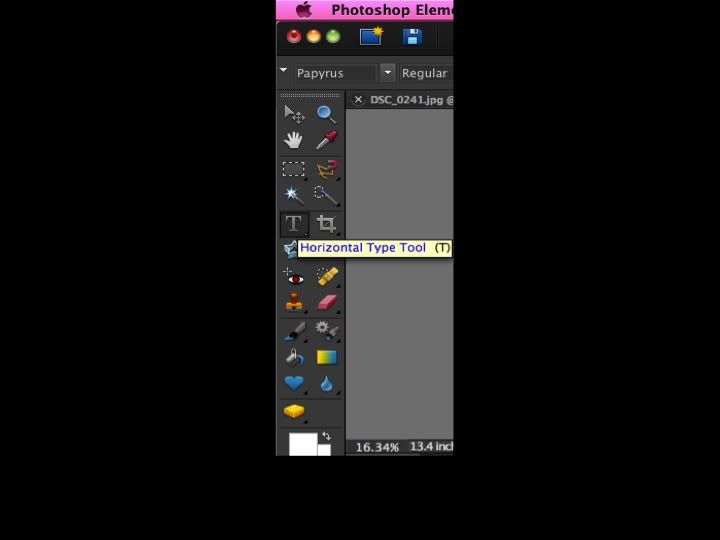
1) Click the "text" tool in photoshop. It will look like this:
And.....
Congratulations, you now have your very own watermark!
Was this post helpful? Easy to follow?
Saturday, February 19, 2011
Welcome!
Hi All! =) This may be a slow process in starting this, but I think I've done the hardest work so far: making a layout and coming up with a name.
On this blog- you will find pictures that only I've taken & edited myself. I will explain how I do everything & if there's something you would like to know and it's not here let me know! I'll try to figure it out if I don't know how!
These will mostly be of my sweet little girl, Rylee.
I'll start off with a few pictures I've taken recently, but no "how-to" just yet.
Before & After:
Subscribe to:
Posts (Atom)


