

Keep reading..
1) Open Photoshop Elements 9.
2) Open the photo you would like to work on & duplicate your photo by pressing:
Ctrl (Windows users) or command+J (mac users)

3) Select "enhance", "adjust color" then "remove color."
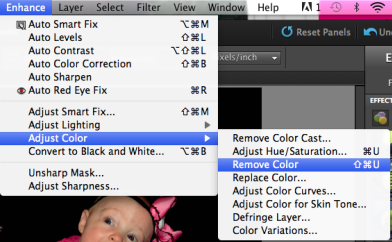
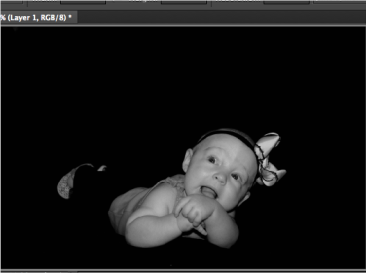
Your photo should look like this:
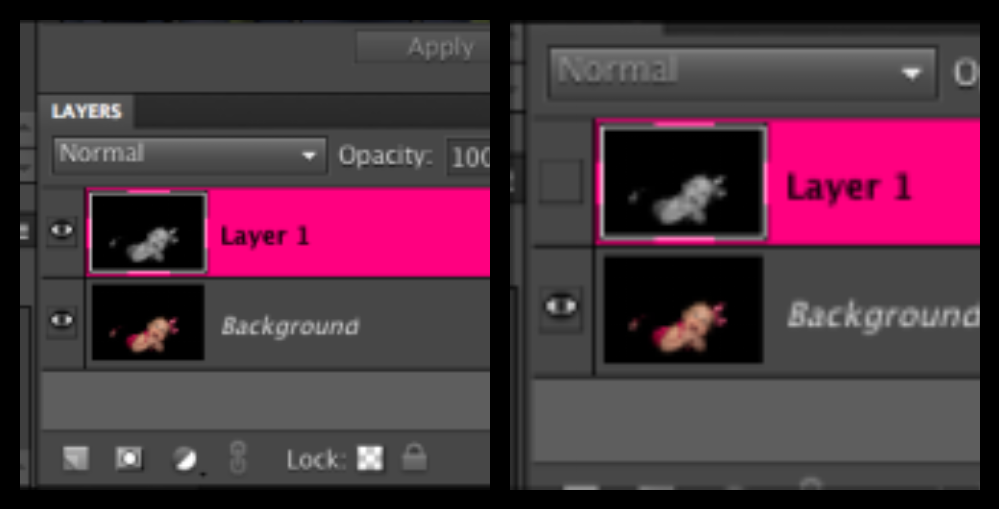
4) Click "new layer" icon to add a blank layer.
5) Name that layer based on the color you're using.
6) Click the eye icon for the black & white layer to turn it off.
7) Click the eyedropper in the toolbox.
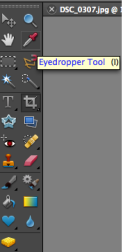
8) Click a color in the picture that you want to use.
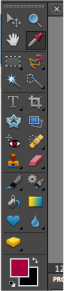
I chose to use the pink color in my picture so that pink should show up as the foreground color in your toolbox as shown above. Whatever color you chose should be there.
9) Click the eye icon for the black & white layer to turn it back on.
10) Click the layer that you named in step#4.
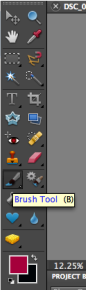
11) Click the paintbrush in the toolbox & pick a good size brush & size.
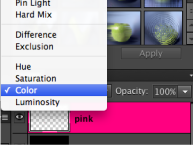
12) Select "color" for the layer blending mode.
13) Now paint over the photo where you want this color to appear- should start to look like this:
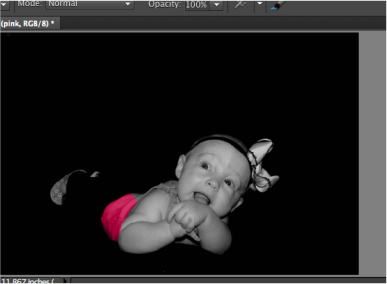
Once you're done coloring over the area you want- your finished product should look like this:

And...you're done!
No comments:
Post a Comment